Select the Scenario to Analyse
The software is provided with a test database containing two hypothetical systems. This test data is sufficient to assess the functionality of Visualyse EPFD. Additional data can be added to the SRS using the data format in section 6.
When you run the software for the first time, the New Run Definition dialog will appear as shown below.
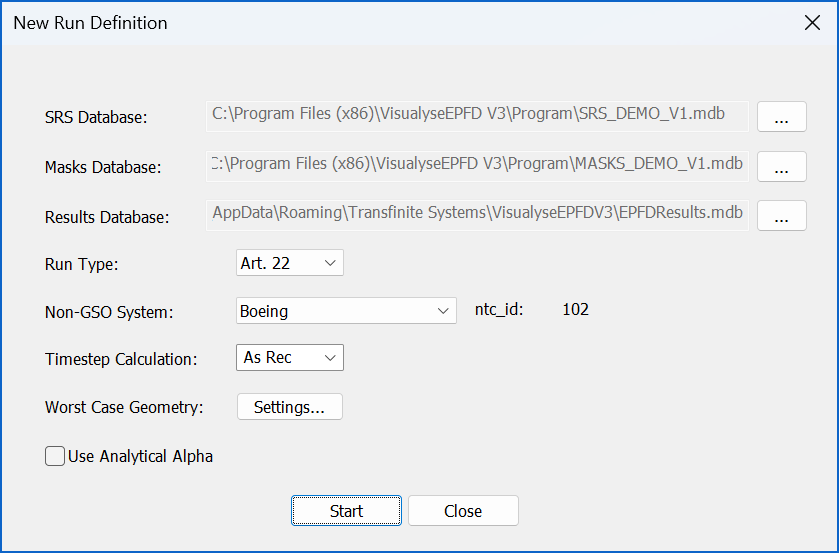
The first step is to select the database to use that contains the non-GSO FSS systems and/or the LES. By default, this is set to be the one that contains the test systems such as Boeing but other databases including the full SRS could be selected by clicking on the “…” button.
The next step is to select the database that contains the mask information. By default, this initially is the one that contains the test system such as Boeing but other databases can be selected by clicking on the “…” button.
Having selected the right input databases, the next stage is to select location for the Results Database. By default the results are stored in a pre-defined location but the user can select a new database by clicking the … button and selecting a directory and filename.
Having selected the Results Database, the next stage is to select the run type required, i.e. one of Article 22, 9.7A or 9.7B:
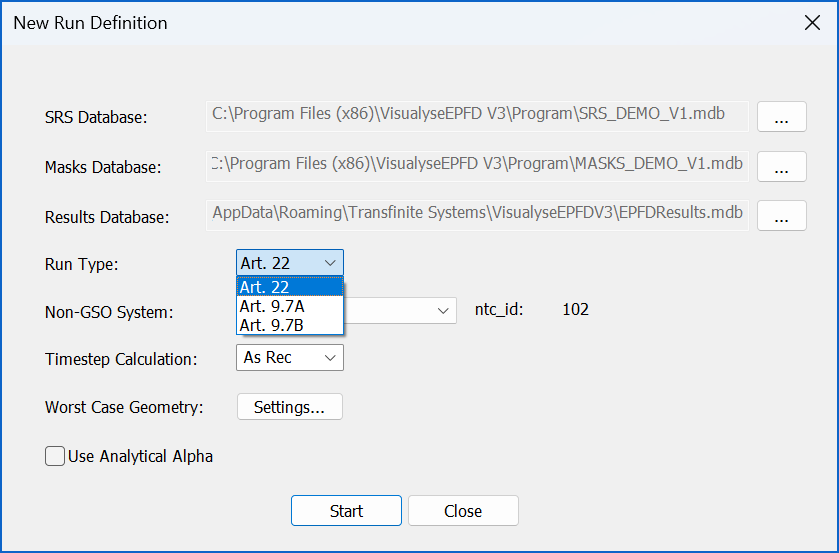
Having done that you can then select which system to consider which will be:
| Run type | System type |
|---|---|
| Article 22 | Non-GSO |
| Article 9.7A | Large Earth Station |
| Article 9.7B | Non-GSO |
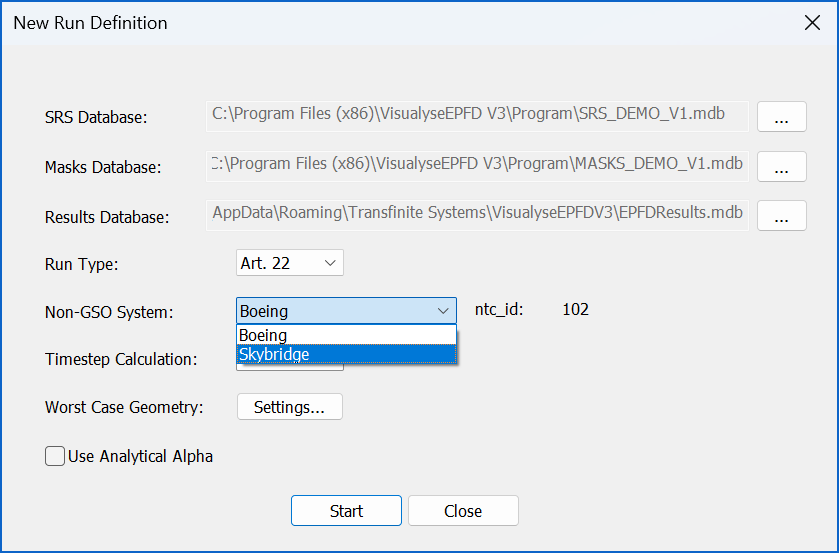
Next step is to select a system from the SRS Database:
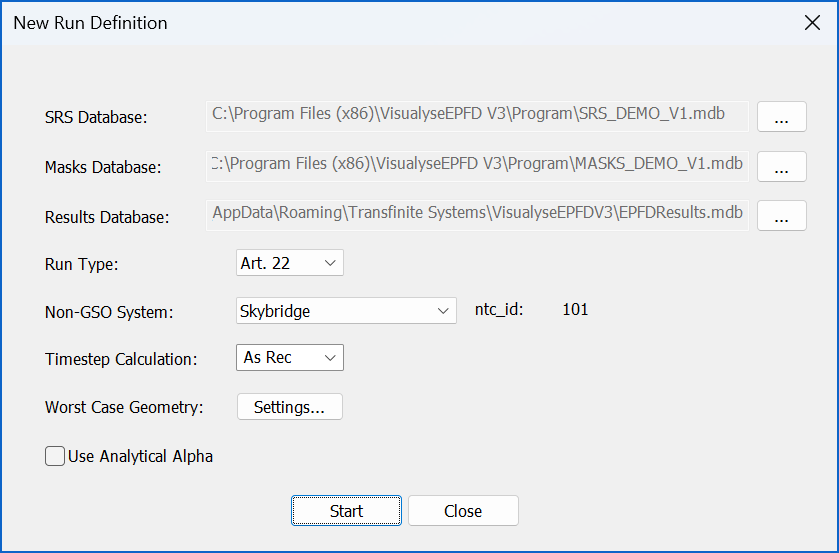
When the system have been selected the ntc_id field is updated accordingly as in the figure below:
The next step is to select how the timestep is calculated:
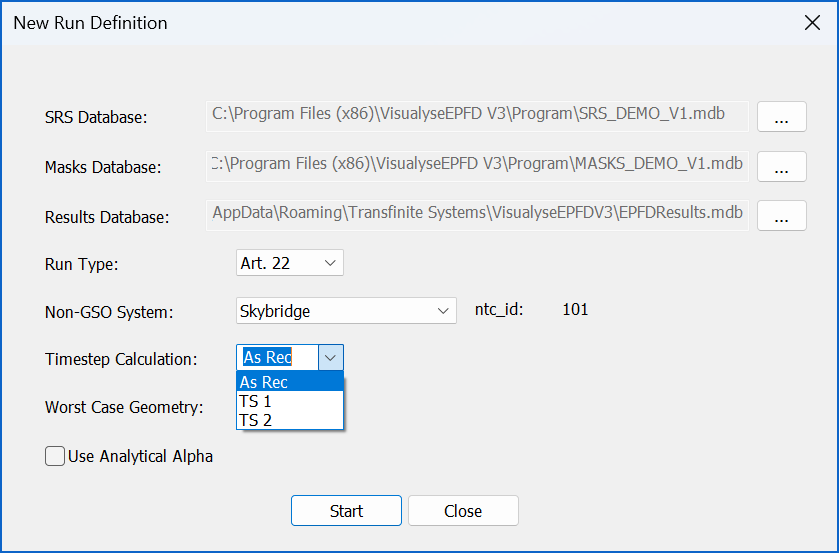
The options to select from are:
As Rec.: run with the full time step calculation as per the Recommendation
TS 1: adjust the Nhit term to take account of the number of satellites
TS 2: adjust both the Nhit and Ntrack terms to take account of the number of satellites
TS 2 will result if quicker runs than TS 1 but with potentially increased deltas from a run executed as per the Recommendation.
Note: further information on Timestep calculation is in section 6.4.3.
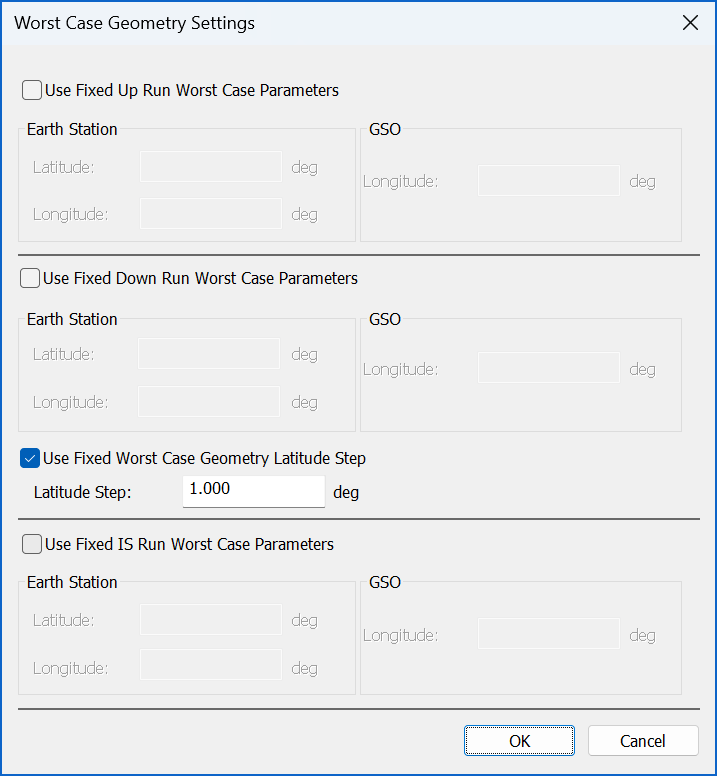
It is possible to fix the Worst Case Geometry parameters used in a simulation by clicking the “Settings…” button. This will display the Worst Case Settings dialog. Where the user can input fixed locations per Run Type as desired. Further information is in section 6.4.1 and 6.4.2.
The final option is to select whether to use Analytical Alpha calculation (as opposed to Iterative Alpha).
At this point a run can be started.
Note that:
- No part of the nonGSO system configuration can be edited in Visualyse EPFD
- The run definition is similar to the non-interactive “black box” approach used with the ITU version selected via GIBC.